Hi everybody!
Yesterday night I wanted to change the fan and the heatsink of my Lenovo X60T tablet (which I am using to study) because the fan was not far from being completely wrecked and made noises so that you could not work any longer without getting insane. So I ordered a new one.
Then I surfed the net and didnt find any tutorial from the beginning to the end so it took a little longer to exchange the fans because I decided put a tutorial into the net by my own. And here it is :).
You can torn it down into the following steps:
1) remove the battery
2) remove the keyboard
3) remove the HDD
4) remove the keyboard cover
5) prepare the motherboard for being clipped out
6) clip out the motherboard
7) replace the fan and heatsink
8) reassemble everyhing
What you need:
1) patience
2) caution
3) you should be grounded, electrically uncharged
4) very small screwdrivers
5) small nippers
6) some mechanical and electrical skills
7) time, dont do the replacement when you are in a hurry. It took me (with taking the photos) almost 3 hours
8) and finally…patience :)
So lets start:
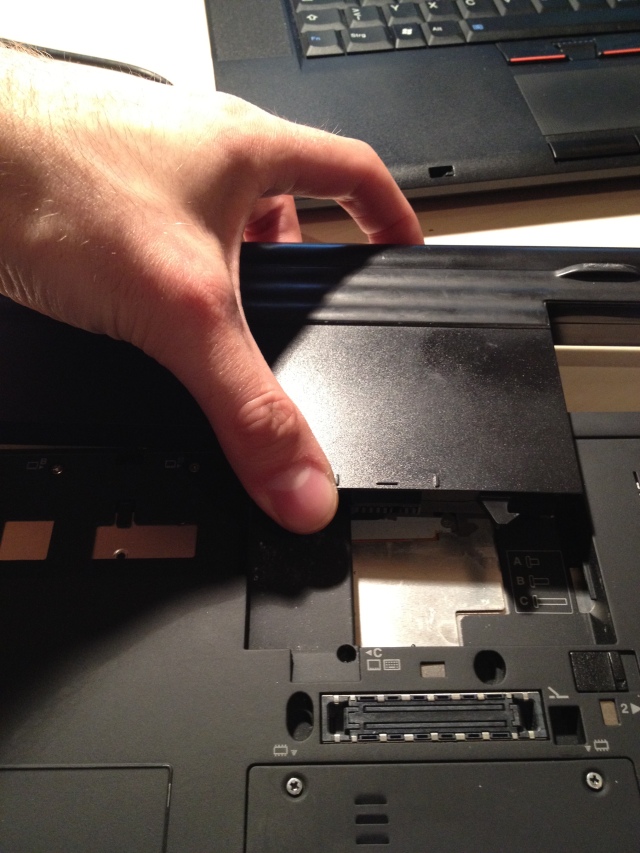
1) remove the battery
Now thats an easy one. On the bottom side of the laptop where the VGA output is there is a small switch that you need to unlock. Then press the unlock switch on the bottom center of the laptop and remove the battery.
2) remove the keyboard
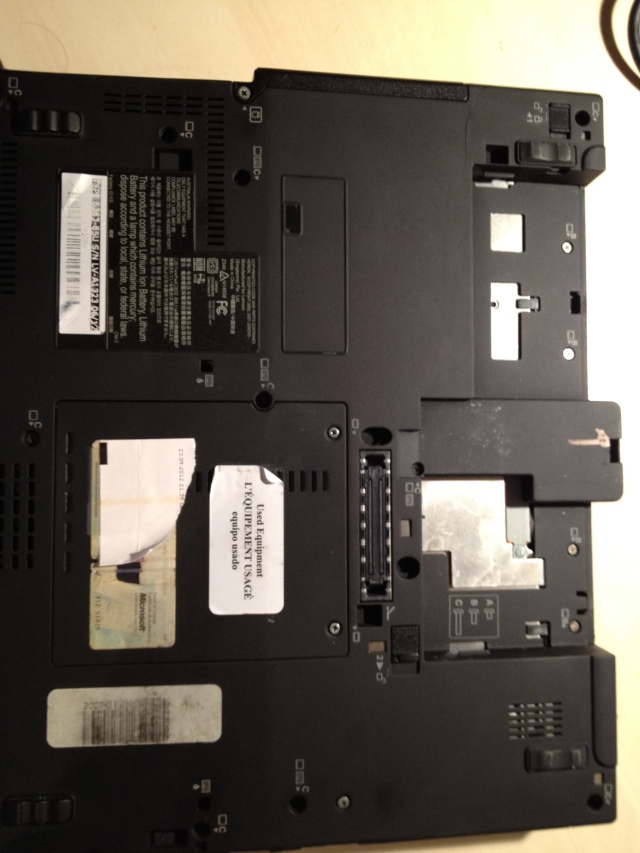
To remove the keyboard you need to remove the screws on the bottom side of the laptop where you can see the keyboard-symbol. Should be 4 screws.
NOTE: The screws have letters A,B and C written on the holes. Keep each screw-group together as they have different length. That will help you when you reassemble the laptop!
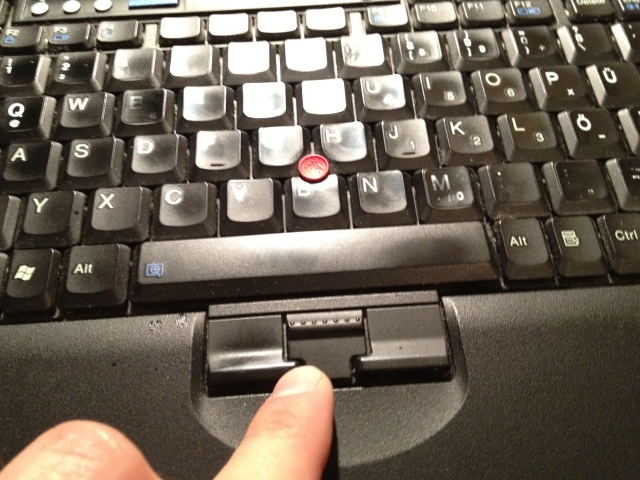
Then on the top side just push the mouse buttons a little into the direction of the display. Then the keyboard should turn loose and you can lift it up.
NOTE: Dont lift the keyboard and throw it away because its connected to the motherboard.
Pull the small circuit-board directly upwards (towards the sky ;) ). It doesnt look like one but it is a connector!
3) Remove the HDD
On the bottom right side (where the power connector is) there is a screw with a HDD symbol. Open the screw, remove the cover and pull out the HDD.
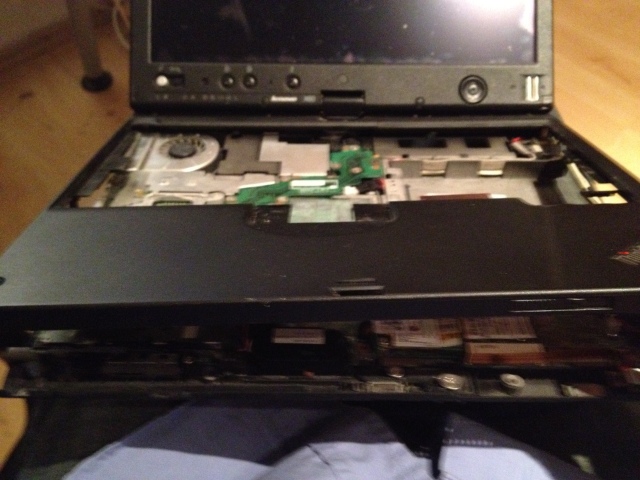
4) remove the keyboard cover
So its time to get rid of more plastic. On the bottom of the laptop, remove ALL screws. All screws should have a “chip”-logo on the side. Get rid of them. Turn around the laptop and carefully remove the top cover.
5) prepare the motherboard from being clipped out
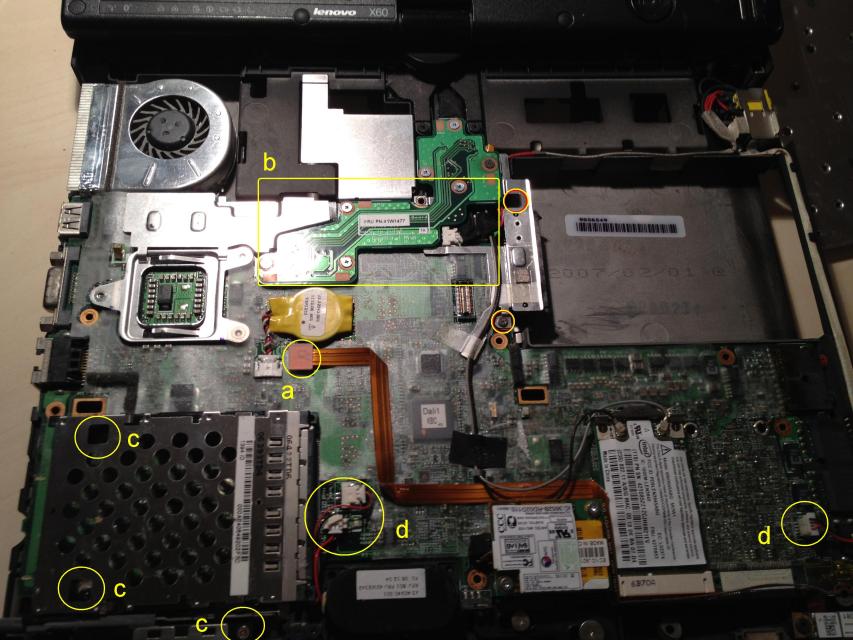
Now we prepare the motherboard. There are some connectors on the motherboard that would get damaged if you just pull the board out. Those are:
a) WIFI Antenna
b) display connector
c) pcmcia slot
d) power plugs on the board
But first of all remove ALL metal (silver looking screws) you can see. Should be 2. Here is a picture where I marked the parts a, b, c and d and the screws (screws are marked without letters). You can click on the picture, it is made with full resolution.
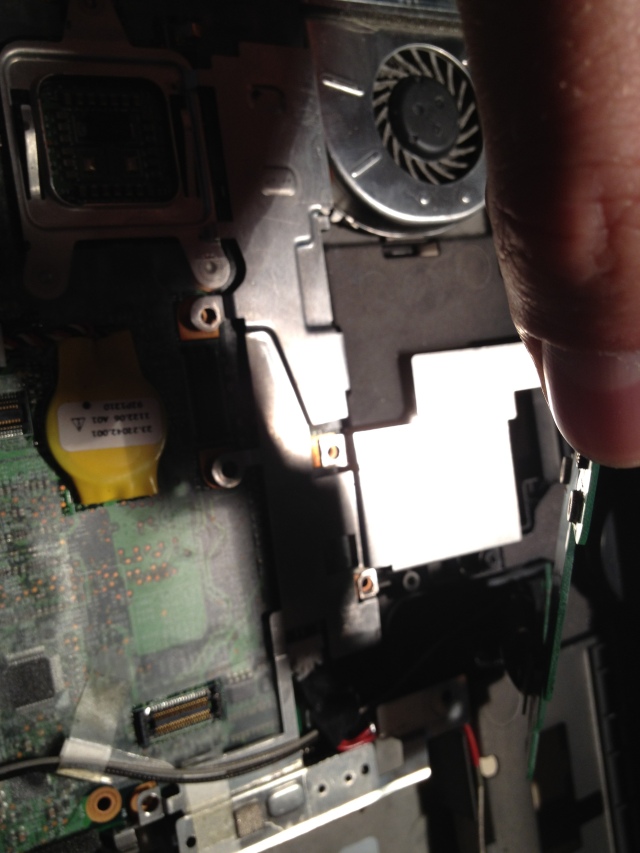
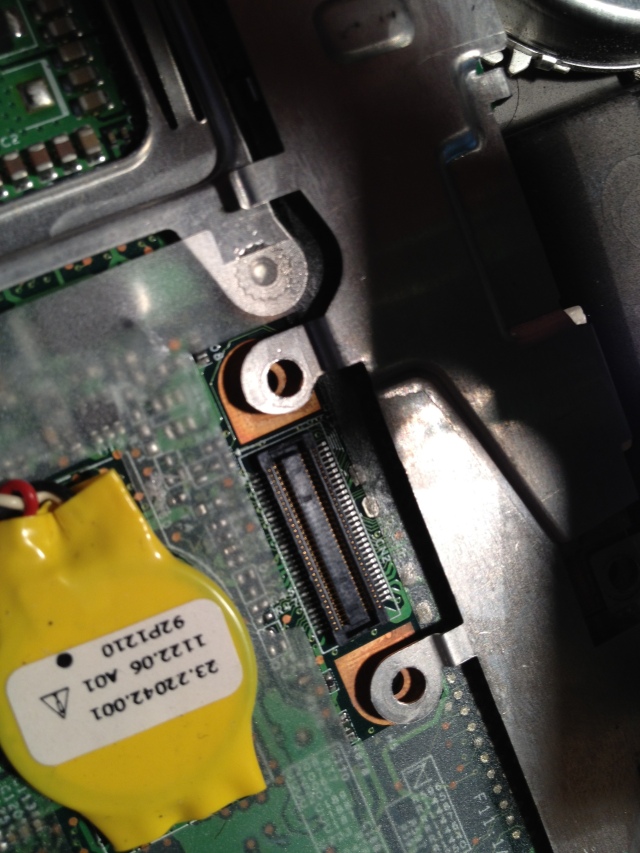
The display connector b is a little difficult. You have to remove 4 screws first and then clip it out (under the circuit board there is also a connector) directly upwards. Difficulty comes when you want to remove the motherboard because you got to bend the display connector towards the display. Just pay attention you dont break anything. It definitely fits!!! I tested it!!
6) remove the motherboard
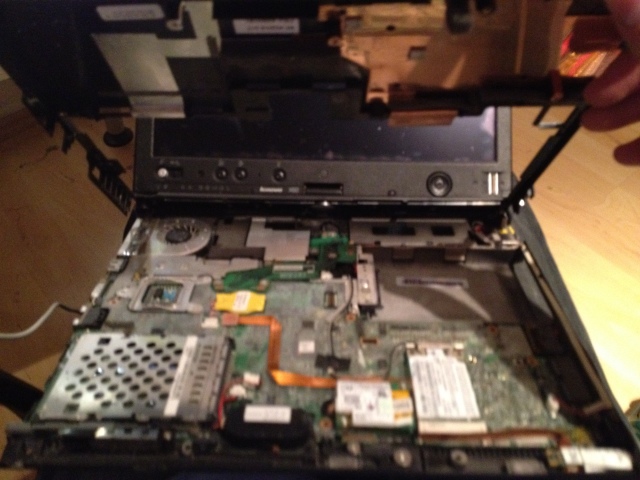
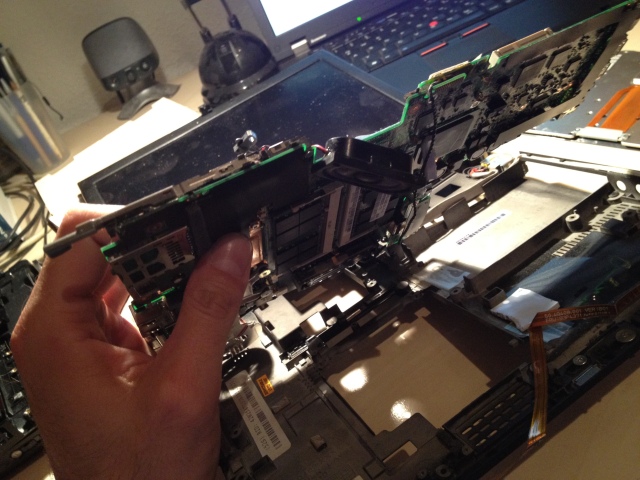
Now comes a tricky part where you need patience. Clip the motherboard CAREFULLY out. I began to bend the plastic case of the laptop a little where the audio ports are and lifted it there. Then I raised the board a little where the PCMCIA adapter is located and then where the VGA port is. You can lift it.
You dont need to remove any futher plugs etc. Just lay the board backwards onto the display. To prevent scratches you can put a little paper onto the display first.
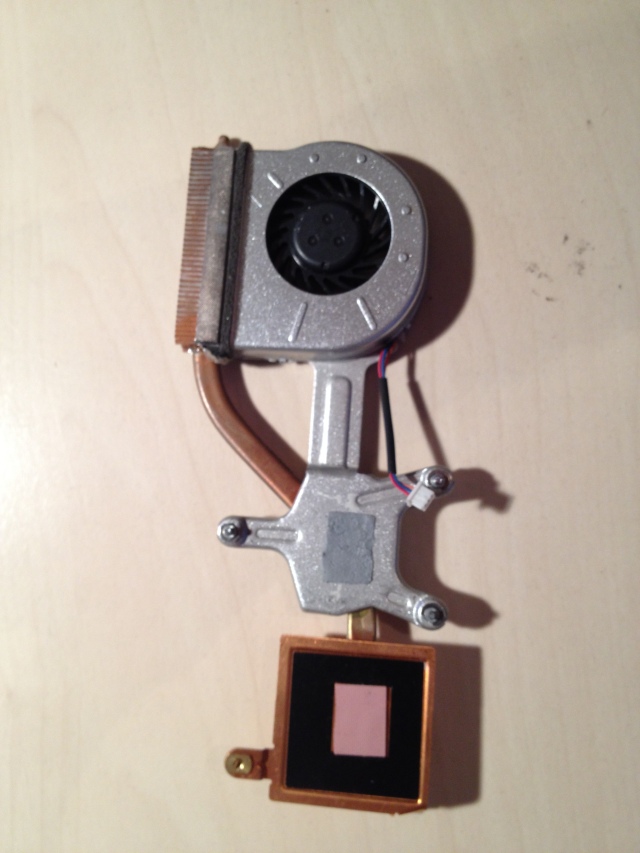
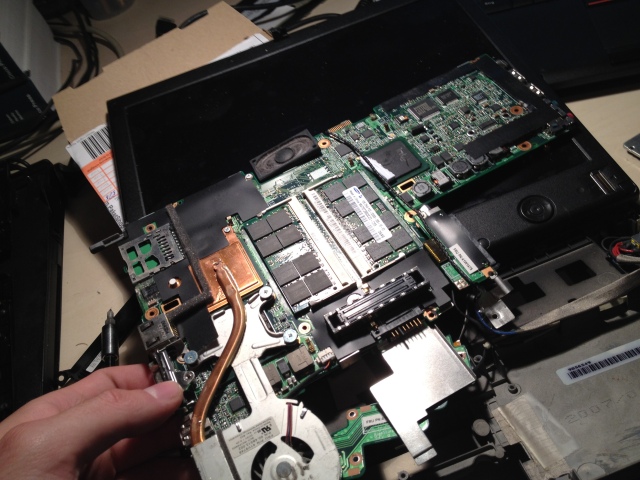
7) replace the fan unit
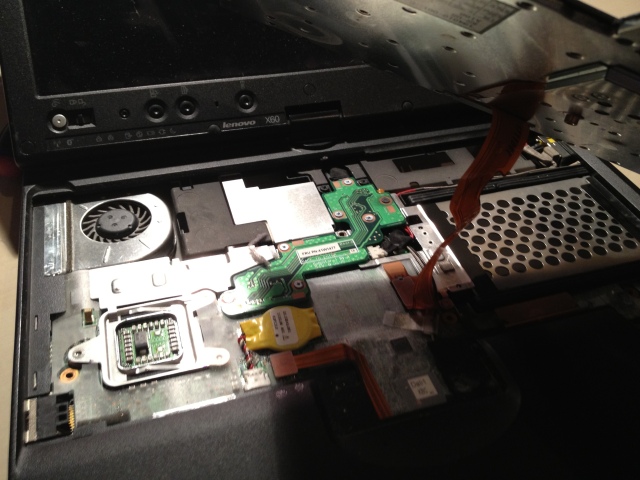
Finally we can replace the fan and the heatsink :). We need to remove 4 screws here.
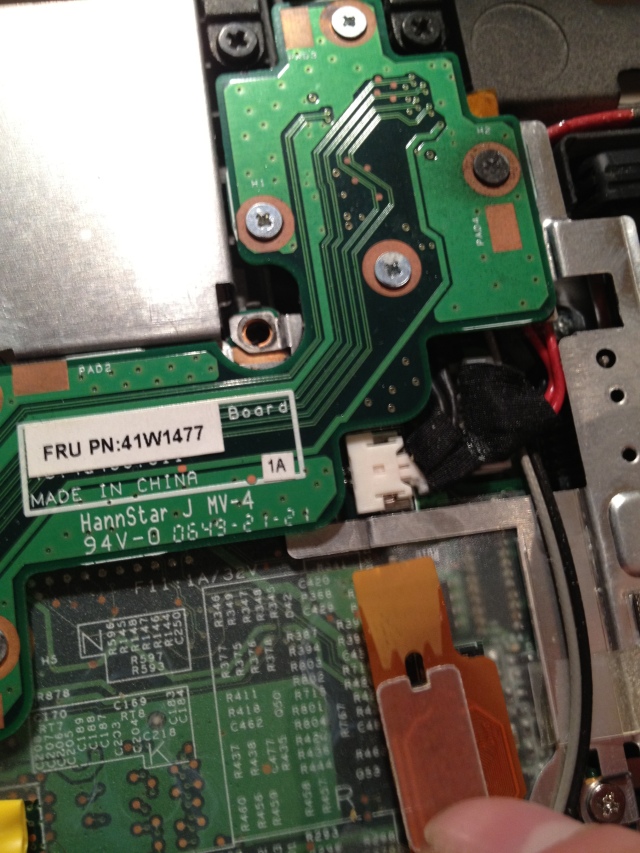
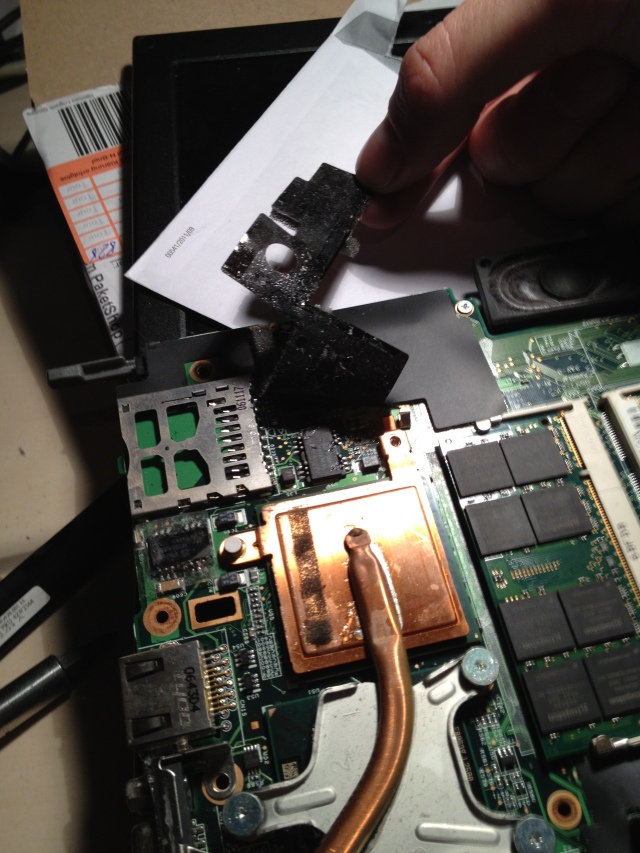
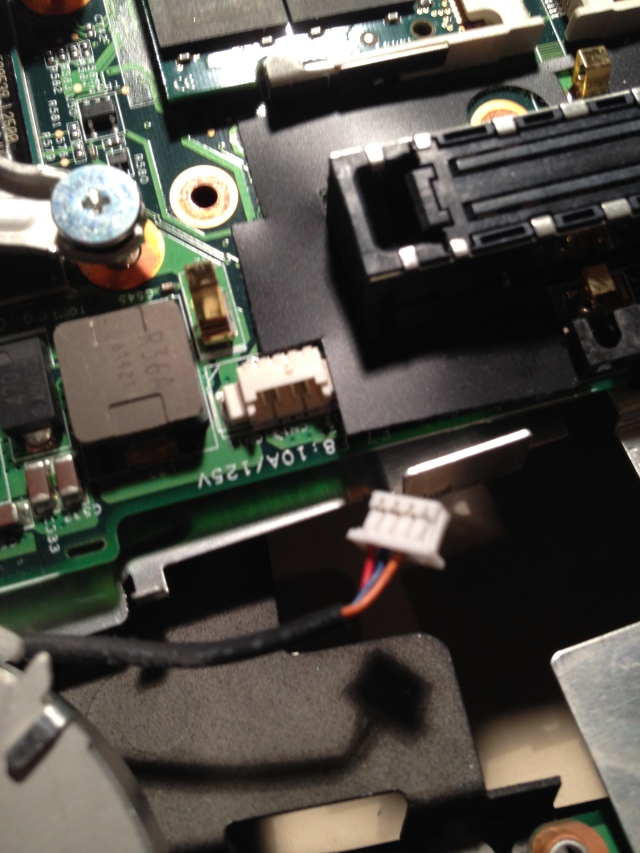
Then partly remove (not completely) the black plastic tape and the power plug.
NOTE: The power plug from Lenovo sometimes differs. My laptop had a 4-pin connector but with only 3 cables attached and the exchange part had a 3-pin connector. The 3-pin connecter fits perfect into the left three pins of the 4-pin connector on the board.
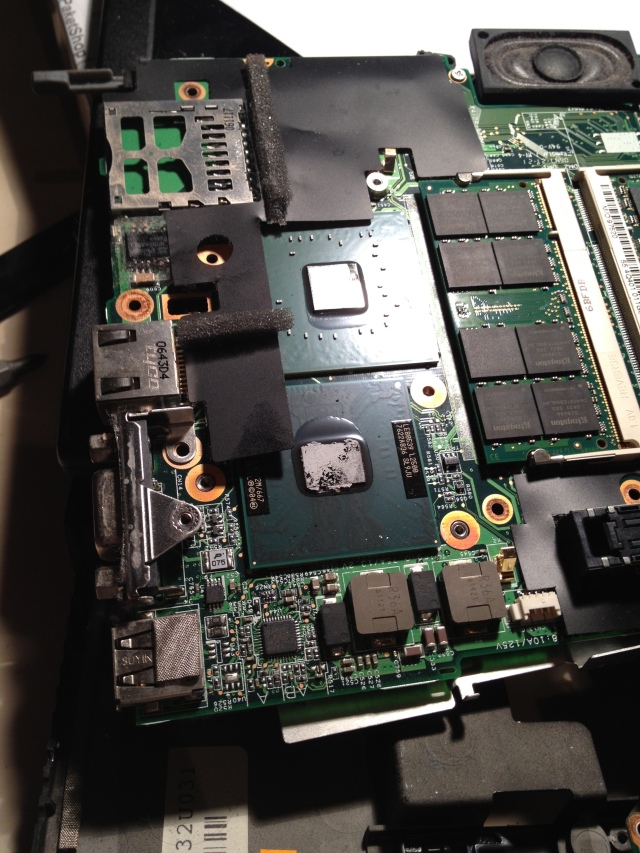
Then build in the new fan and pay attention if both heat plates are covered with heat-conductor.
Finally you just need to revert those steps back until the laptop is reassembled again.
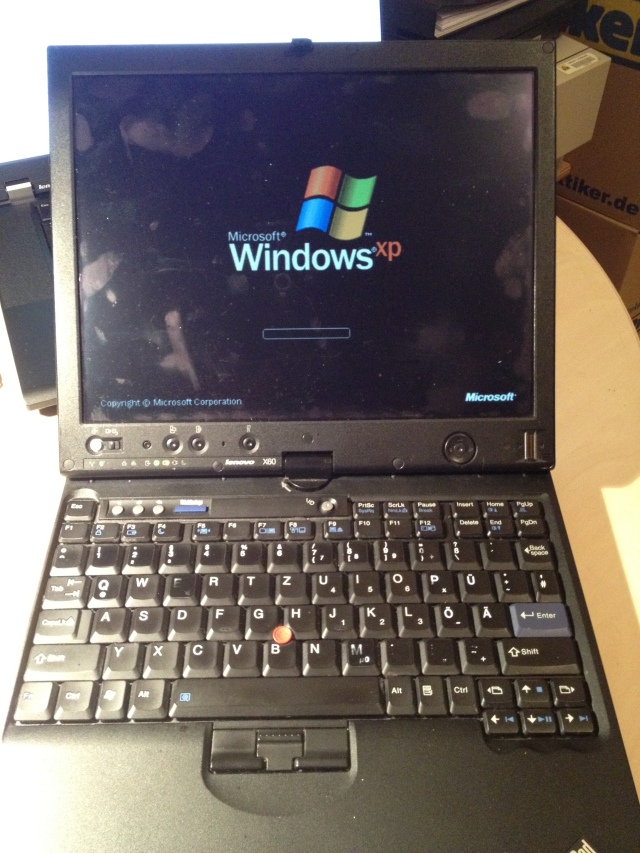
If you have done everything right then it should look like this:
I hope you enjoyed it! Like always feel free to comment!
Regards!












Thanks so much for your walkthrough. It was invaluable when I did the fan replacement last night. I’d like to add a some comments for those brave enough to follow in our footsteps:
1. There is a wire that runs from the top of the board across the front edge and down underneath the motherboard. This is taped to the inside surface of the case. It needs to be gently pulled out from the tape before you can lift the motherboard up and turned over to work on the fan assembly.
2. In all of your photos one of the four screws is missing on the display connector. I found that none of the screws that originally were used for the connector would engage the thread. I left it out in the end and it doesn’t seem to have caused any negative consequence (yet). It is the one second from the left in IMG_1289.
3. Get some thermal grease beforehand. I used some Antec Nano.
4. These ThinkPad X60 Tablets seem to run very hot. The X60 laptop doesn’t seem to have the same problem. I’ve installed a small utility called ThinkPad Fan Controller and it seems to have reduced fan usage and temperatures across the board. You can download it from here: http://sourceforge.net/projects/tp4xfancontrol/
I hope this helps. For the record, I started at 7pm and didn’t finish until around 1.30am.
Very happy. The new fan was very quiet and I bought it for USD 90 incl. P&P.
Oops. Just noticed a typo in my previous comment. In item 2, “none” should read “one.”
Hi Kublai!
Thanks so much for your long and sense-making comment! I appreciate that!
Keep going and I feel lucky that the tutorial helped you.
I will test the tool you recommended!
Regards!
Markus
hello this is a great service that you posted
i have one question from this picture https://chasingmyccie.files.wordpress.com/2012/05/img_1284.jpg
what is the connector you have labeled as “A” (keyboard style) in my X60 Tablet its there BUT empty /not used
thank you
That should be the WIFI Antenna cable if I am right.
Hello Markus,
My X60 fan has been annoying me for a while now. Where did you order the replacement fan from and what is the part number?
Appreciate your help….
Thanks for the step-by-step tutorial.
cheers
Gary
Thanks for this guide — it was very helpful. It took me about 90 minutes to disassemble. I’m still waiting on the replacement fan so can’t reassemble yet. A couple of points:
1. I couldn’t get two of the display connector screws to come loose. I notice some of yours look stripped too. For the two I couldn’t remove, I drilled the heads off with an electric drill, and used a magnet to pick up the shavings. This seems to work OK.
2. My assembly was slightly different than yours, in particular the wifi connector ran under some wires and needed to be disconnected not at the motherboard but on the other end.
3. I think adding a lot of thermal paste is important — the X60t is notoriously hot (mine would reach 90C under load and shut down; I wound up running it on a laptop fan platform to cool it) and the heat is worsened by insufficient thermal paste. Adding paste makes the fan more effective so it can run less.
Thanks for publishing this article. Your pictures are invaluable. Any chance you know what the silver connector on the bottom of the motherboard in the lower right corner is? It’s featured pretty nicely in this pic: https://chasingmyccie.files.wordpress.com/2012/05/20120505-115104.jpg?w=640&h=480
Haa nevermind. Apologies. It’s been a while since I’ve used SD cards & this slot struck me as ‘too big’ to be one. That said, I forgot my x60s even had an SD reader. Booyy, embarrassing :/
Just had to say thank you for this walkthrough. It was invaluable. Thank you for taking the time to do this for the rest of us.